The MOM Trotter

Kids Craft: How To Make Colorful Easter Bunny Eggs

Kids Craft: How To Make Colorful Easter Bunny Eggs

This post may contain affiliate links. By clicking on any of the links below, I may get a commission if you make a purchase at absolutely no additional charge to you. This helps offset the costs of running this blog & I appreciate your support. Please see my privacy & disclosure policy for more.

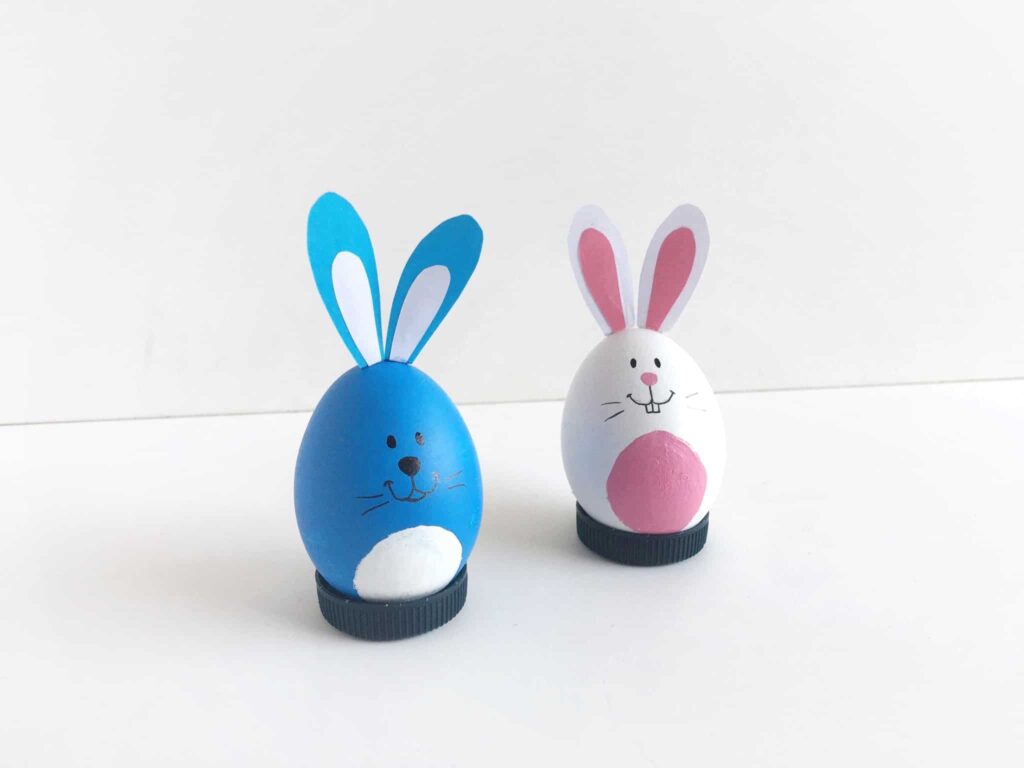
IF you’re looking for a cool, easy and fun craft to make with your kids, then I definitely recommend making these colorful Easter bunny eggs out at home.

Feel free to use whatever colors you have at fun, and change things up if you’d like to.

The good thing about this craft is, you can make it any time of the year!

Contents

Supplies

  1. White Eggs
  2. Acrylic Paint
  3. Colorful Craft or Construction Papers
  4. Paint Brushes
  5. Bottle Caps

Instructions

To make this project, first, you will need to collect all the listed supplies from above and print out the templates.

STEP 1:

Take a clean white egg

STEP 2:

Use white acrylic paint to paint the whole egg.

Allow the paint to dry for at least 10 minutes.

STEP 3:

Use a thin black marker pen to draw the eyes, whiskers, and the outline of the bunny’s nose.

Then use a pink marker pen to fill up the inside of the nose’s outline.

STEP 4:

STEP 5:

Glue the small pink pieces inside the white larger pieces to make the bunny’s ears.

STEP 6:

Now finally, glue both bunny ears on the top of the egg.

It’s complete.

Hope you enjoyed making this craft with your kids.

Homeschooling – Tips & Tricks

Thinking About Homeschooling – Where To Start

Where To Shop For Homeschooling Supplies

Homeschool Resources

Visit my Homeschool Resources page to see all the reliable and trustworthy brands that we use for our homeschooling journey.

Facebook Comments
Follow:
Spread the word ...

Leave a Reply

Your email address will not be published. Required fields are marked *

This site uses Akismet to reduce spam. Learn how your comment data is processed.